Unreal Engine 4: TileSets and TileMaps!
Updated:
NOTE: If you’ve read other tutorials on how to create TileSets and TileMaps in Unreal Engine 4, you can probably skip this one too. :)
NOTE #2: This post is also available on GitLab if you’re having trouble with the font, dark theme or whatnot (just ignore the top part, it’s Jekyll information).
Using TileSets and TileMaps in Unreal Engine 4 you can quickly create 2D maps for your games. This post is maybe more a tutorial of sorts and how I’m gonna use TileSets & TileMaps in my own (prototype) game: Curse of Undeath.
What I don’t see in tutorials is any talk about how they go about creating different layers for different uses. I’m gonna try show how I am doing my layering for TileMaps.
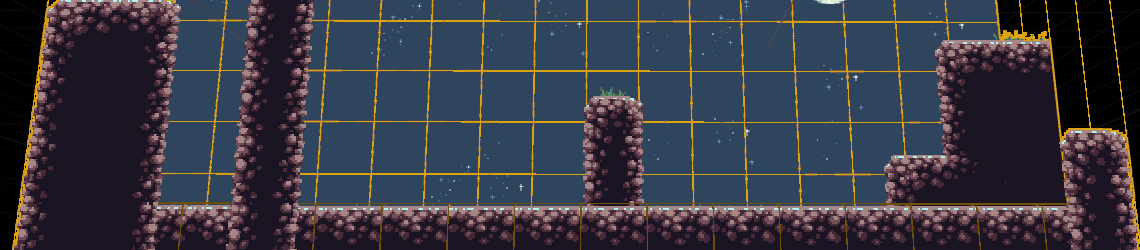
Here’s the finished example:
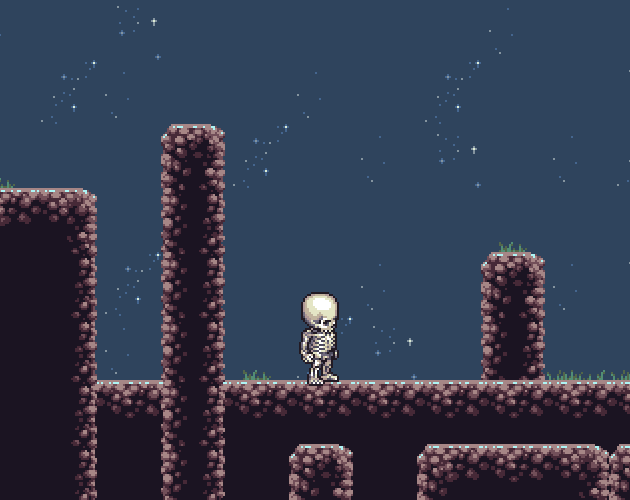
Table of Contents
- Setting up the texture
- The TileSet
- Creating the TileMap a.k.a. now the fun begins
- Adding the TileMap to your level
- Playing & testing the TileMap!
- TileMap tearing
- The finished example!
Setting up the texture
I use Dirt Platformer Tiles by Lanea Zimmerman for my game. A good thing to know before importing is the tile size of the tileset, as it makes it easier later for the TileSet settings, just keep it in mind (in this example the tile size is 32x32px).
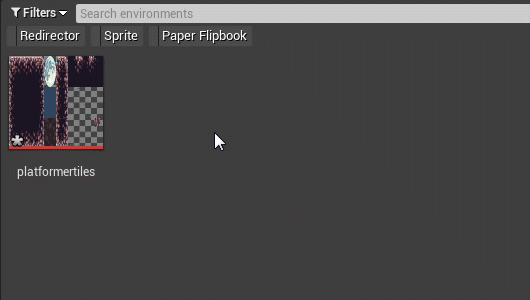
Alright, let’s start. First we need to import the texture (the tileset) you want to use. I’m just dragging my texture into UE4 content browser here.
Next we apply a Paper2D texture settings for the newly imported texture, so that we have clean edges and such!
Right-click on the texture and choose ‘Apply Paper2d Texture Settings’
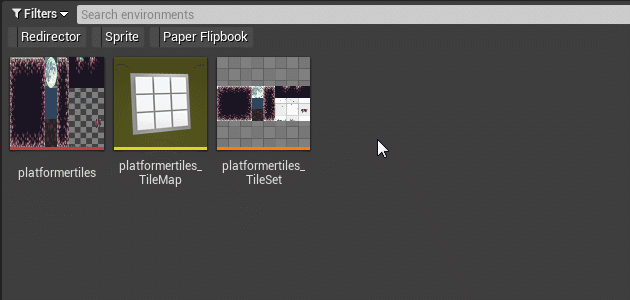
The TileSet
Now that’s the texture set up, we can finally create a TileSet from the texture.

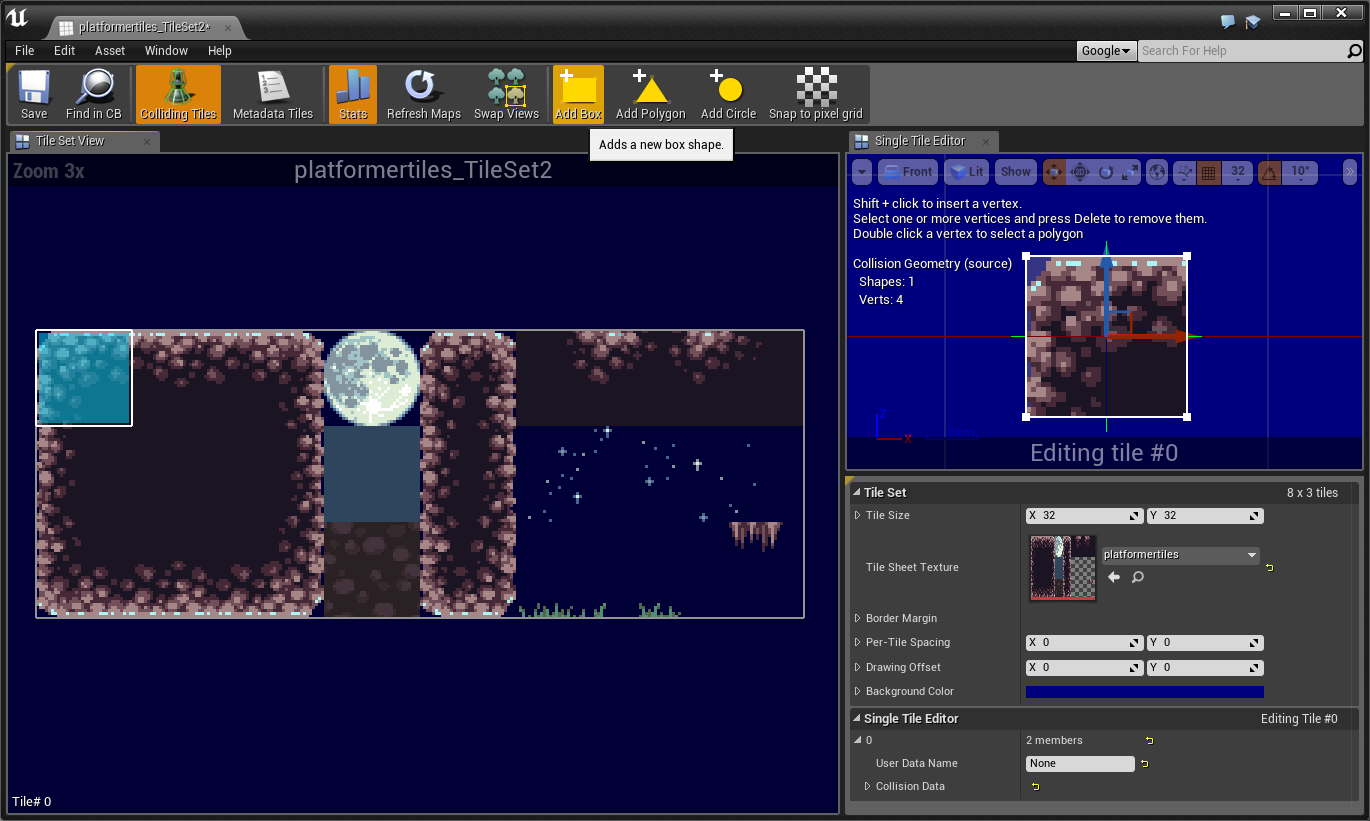
Let’s open the TileSet.
- On the left side you can preview (left-click) the different tiles in your TileSet if they match your current Tile Size setting.
- On the right side you have the Single Tile Editor (for collisions and stuff, more on that in a sec).
- The panel underneath you can set the Tile Size (this is the tile size I mentioned before). Also here’s settings if your tile set has spaces between the tiles themselves. Luckily the tile size of the tileset I’m using is set to 32x32 with no spaces in between, UE4 tile size defaults to 32x32, so I don’t have to change anything.
Now we need to setup some collision for our tiles so our player can walk on them.
Having the tile selected, and pressing the “Add Box” button at the top, adds a box collision for our tile. In the Single Tile Editor you can change your collision verts if you want (to any shape or size you’d want), but I think you mostly just use the box collision.
NOTE: If you’re unable to see the blue boxes after adding collisions, enable the “Colliding Tiles” by pressing the button at the top left
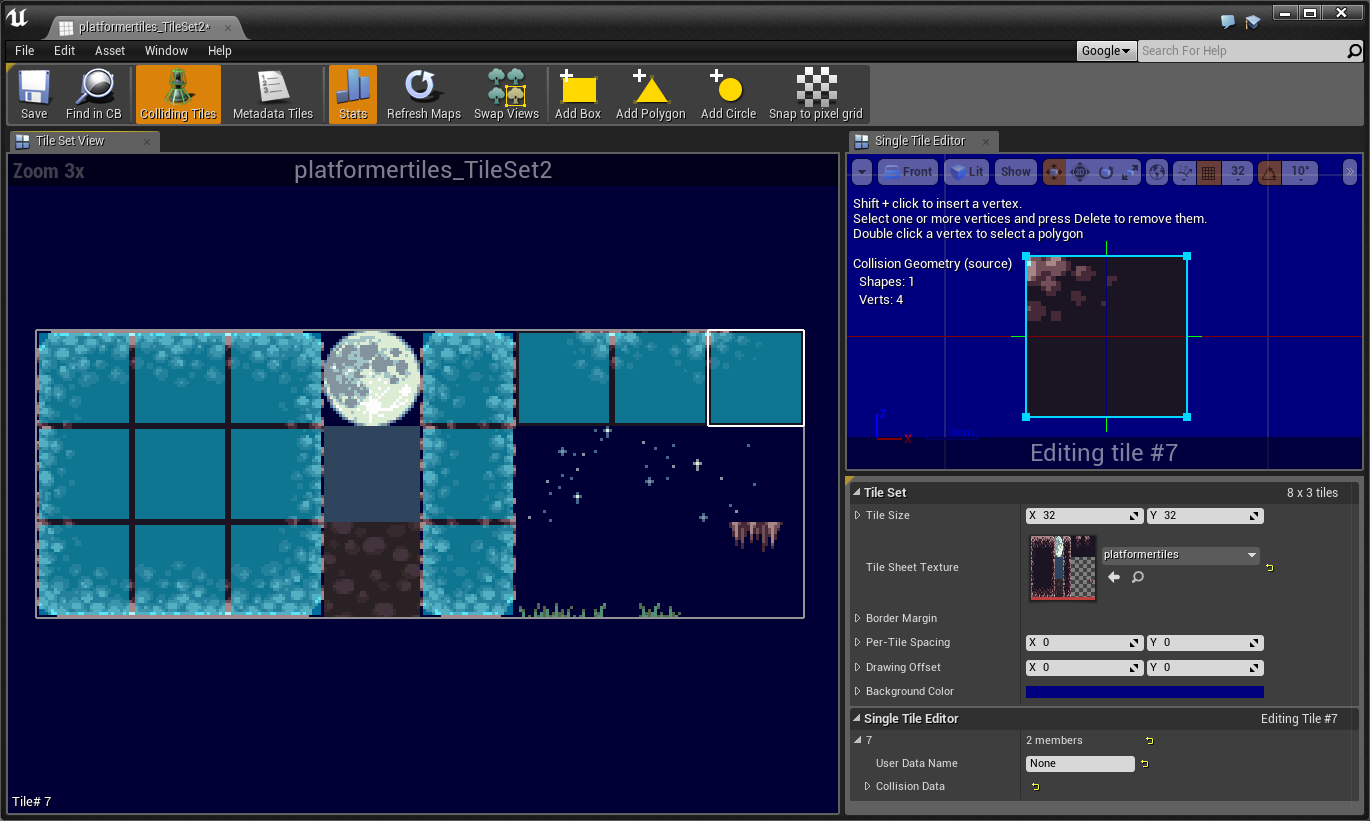
Let’s add box collisions to all our tiles we want our player to be able to walk on!
Creating the TileMap a.k.a. now the fun begins
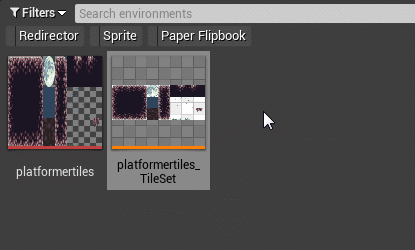
Right-click on your TileSet and choose ‘Create Tile Map’

This is what a clean TileMap looks like.
- The right side is where you ‘paint’ your TileMap.
- The left side is where you choose your tile you wish you ‘paint’ with, and underneath is the TileMap’s settings.
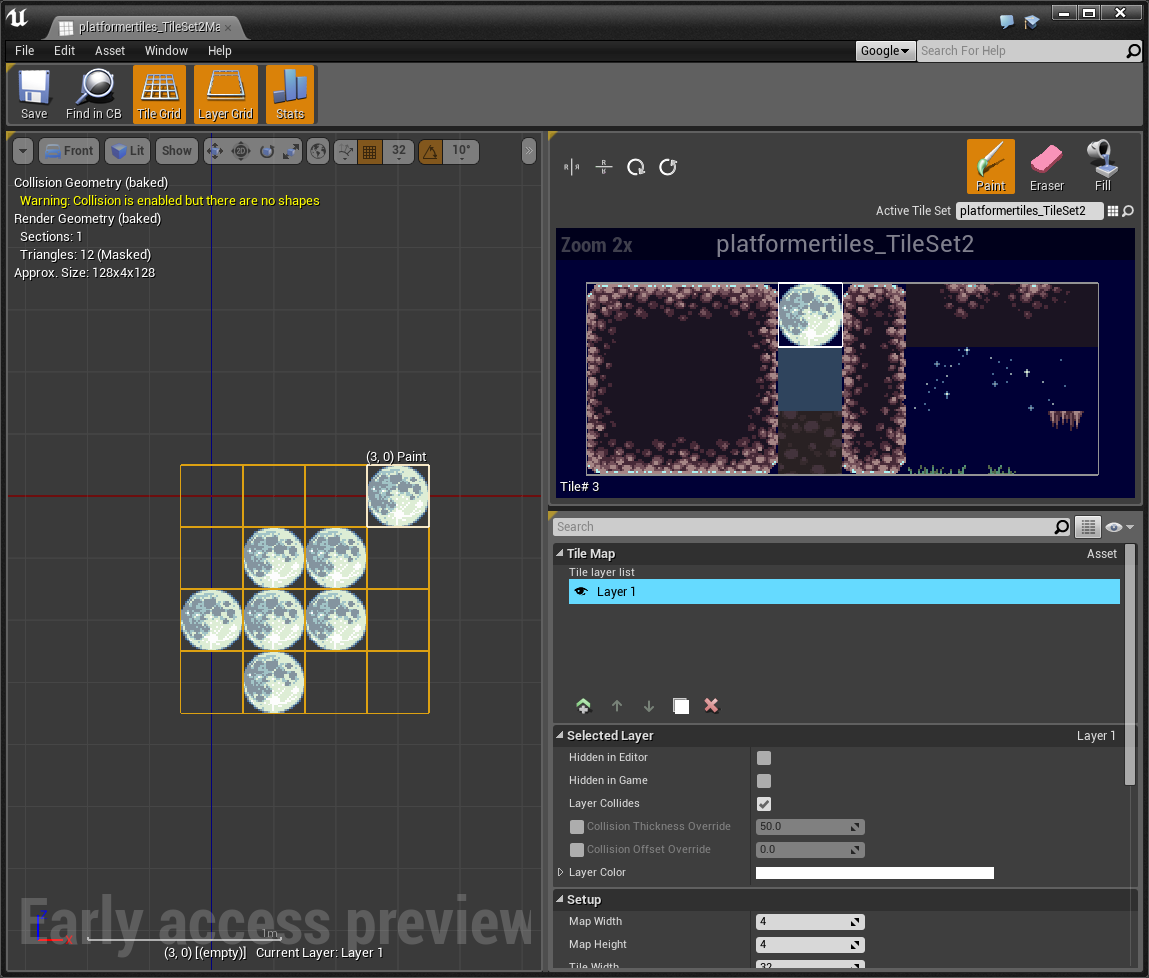
Selecting a tile allows you to ‘paint’ it onto the TileMap, but first let’s look at the TileMap settings.
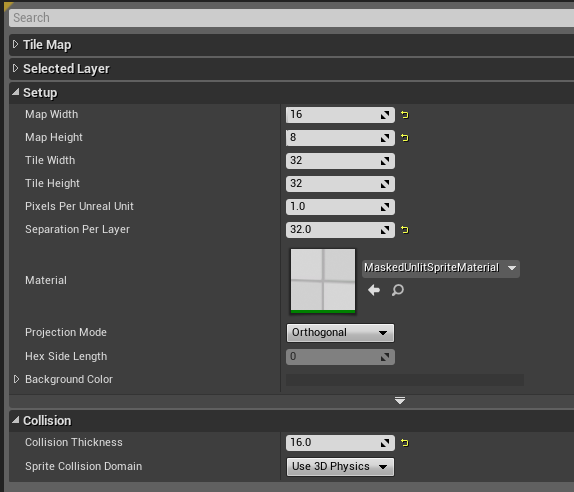
Here’s the TileMap settings I’m gonna use for this example, and in my game (except for the width and height, those I expand). Most noticeable settings are the “Separation Per Layer” and “Collision Thickness”.
- “Separation Per Layer”: It doesn’t matter when the camera is orthogonal anyway, and gives me more space between the layers so I can see the collision when dropping the TileMap into the world.
- “Collision Thickness”: I don’t need to use 50 units of collision, so I use a nice low number instead.
TileMap layers
Background layer
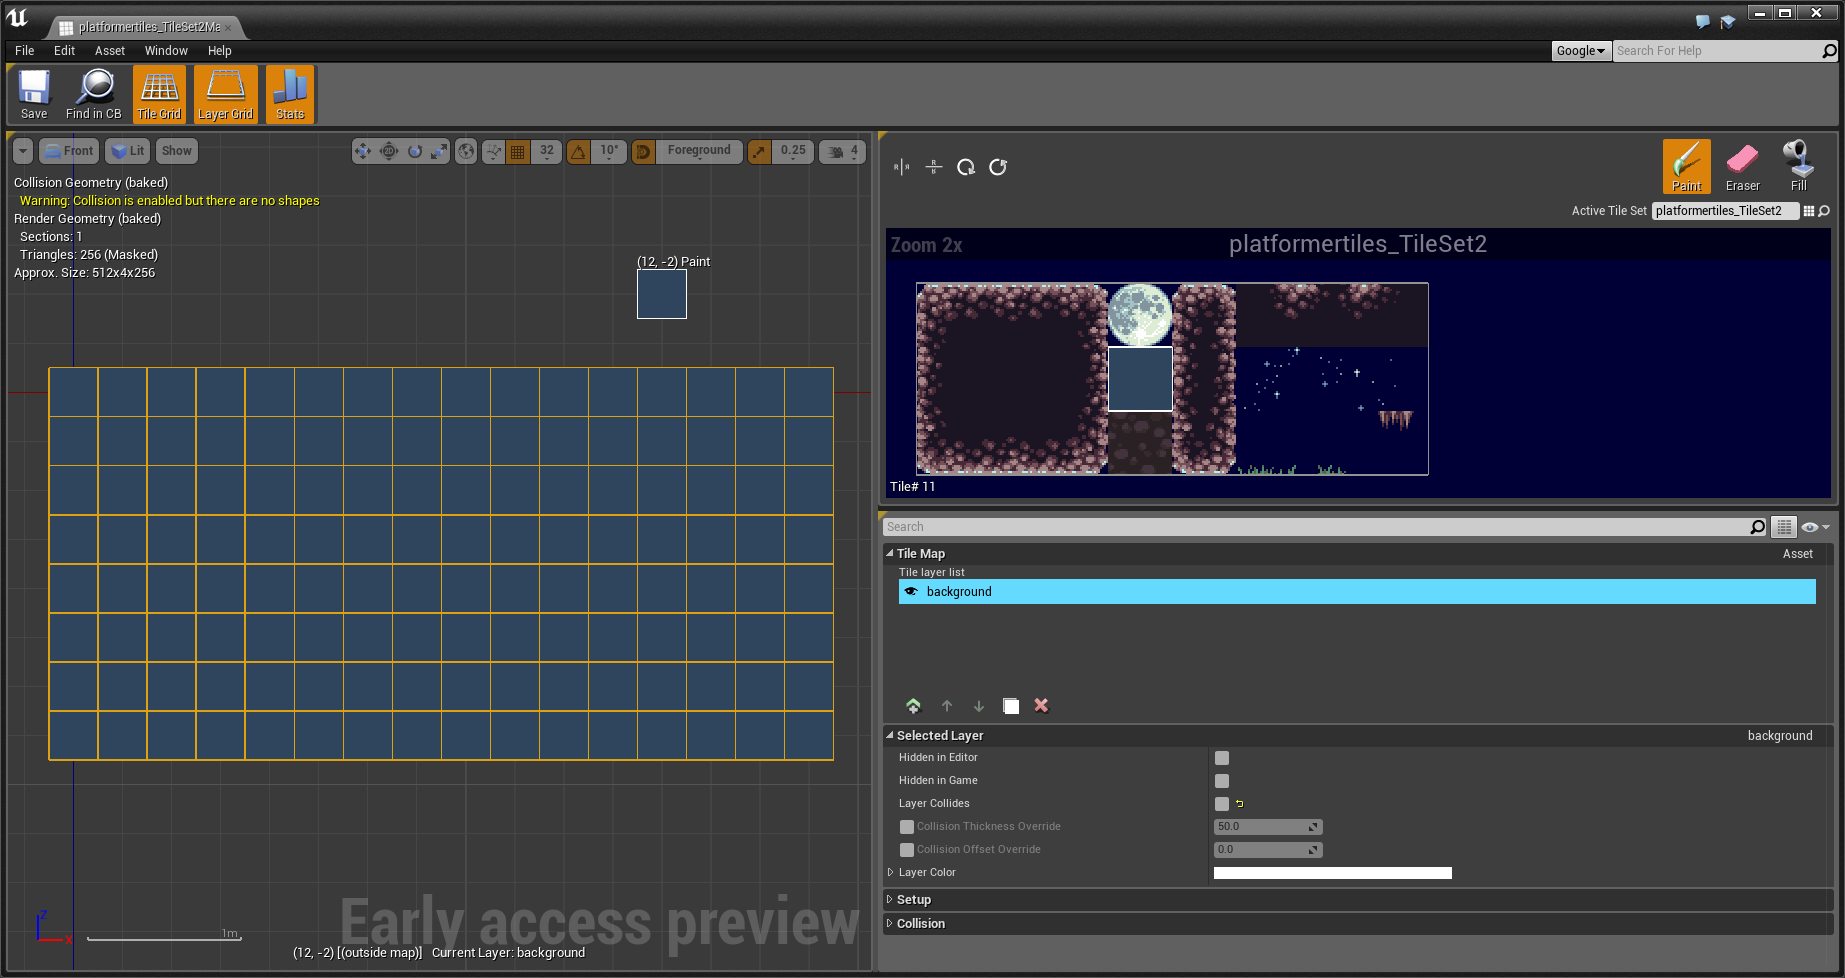
Let’s start with the background, pretty straight forward. I use the “Fill” tool to quickly make the background… a background. Done.
NOTE: I set the “Layer Collides” to false, it’s not needed because the background tile doesn’t have collision, but I think it’s a good habit to get into anyway.
Background details layer
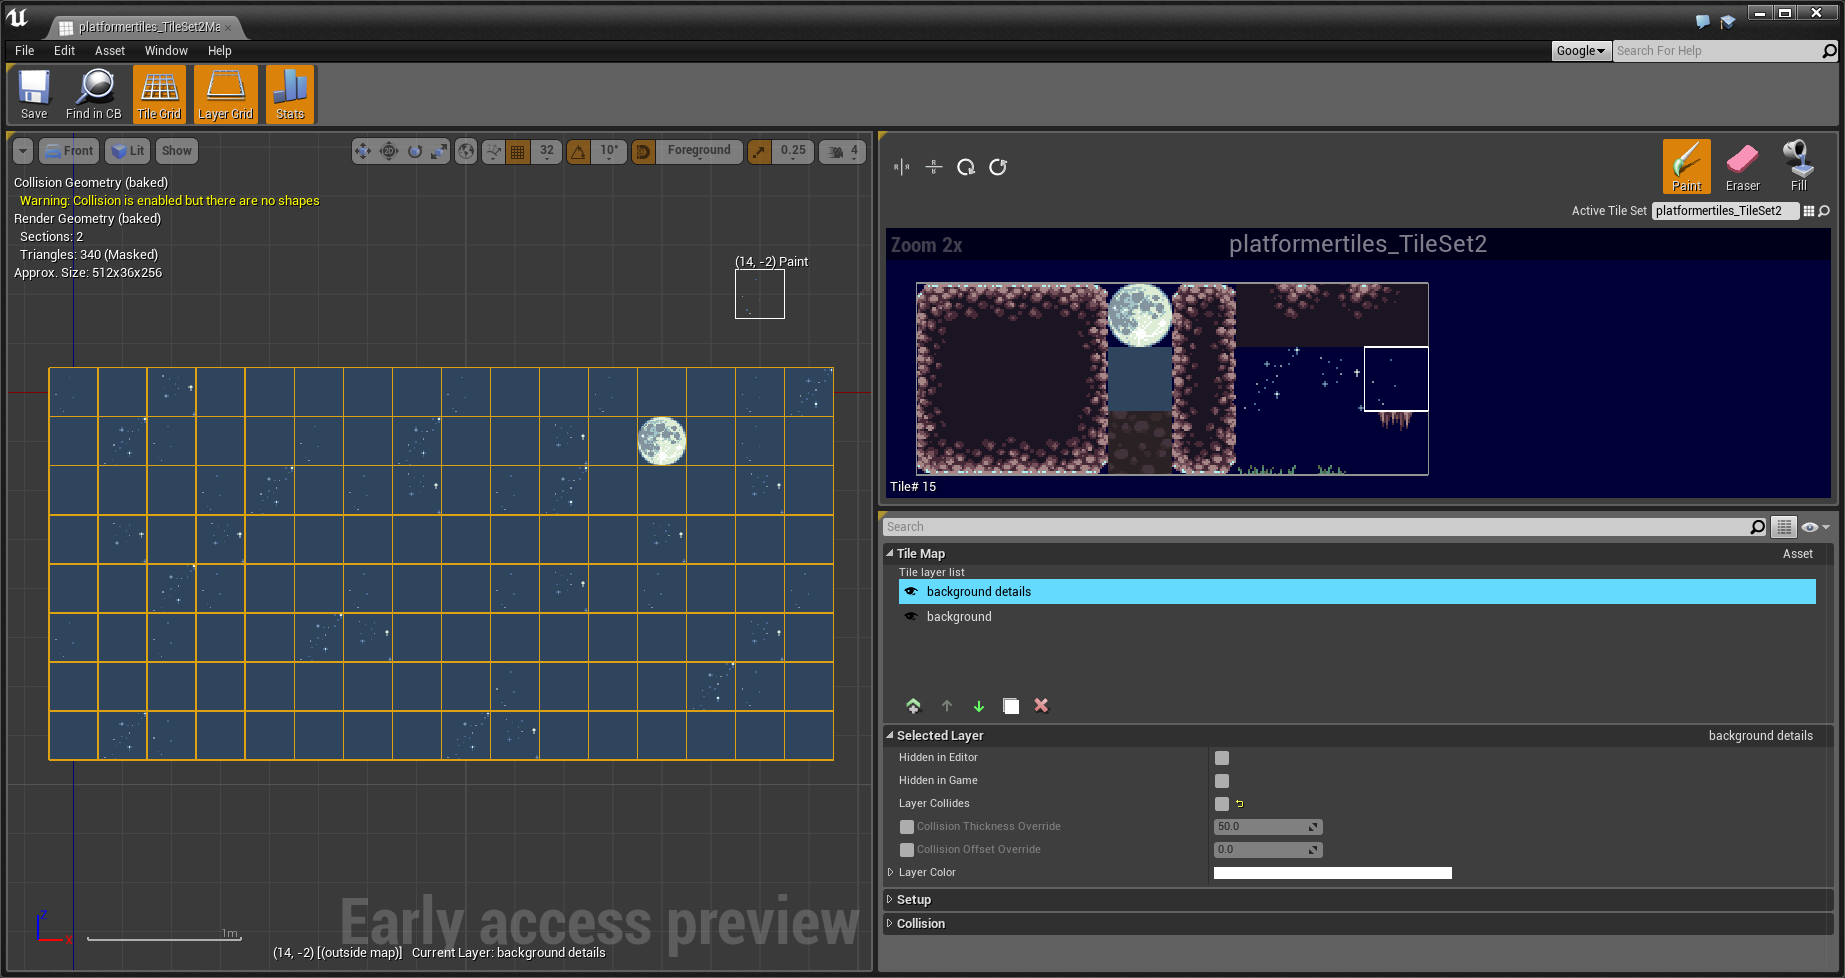
Here I add all the background details, clouds, stars, moon, and whatnot.
If I’d add them to the background layer there would be holes in the background because of the transparency of the moon and star tiles.
NOTE: “Layer Collides” is set to false
Ground layer
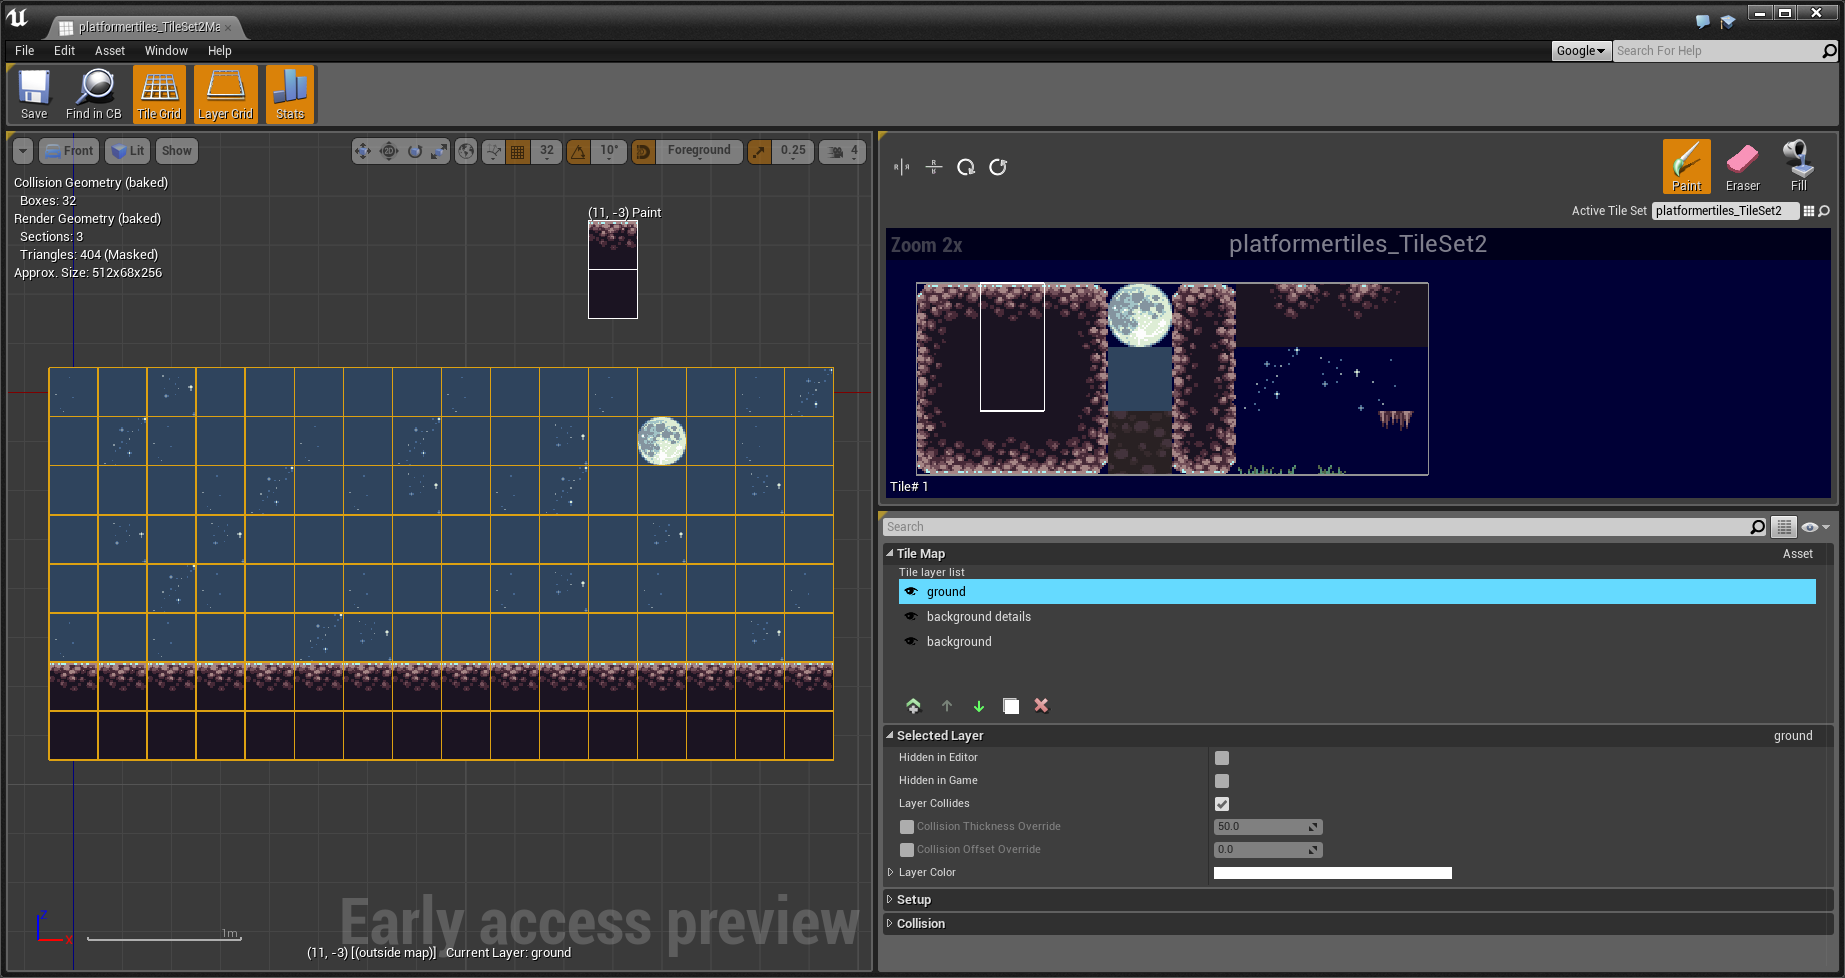
A simple Ground layer for the player to walk on. This is the only layer the player interact with.
Ground details layer
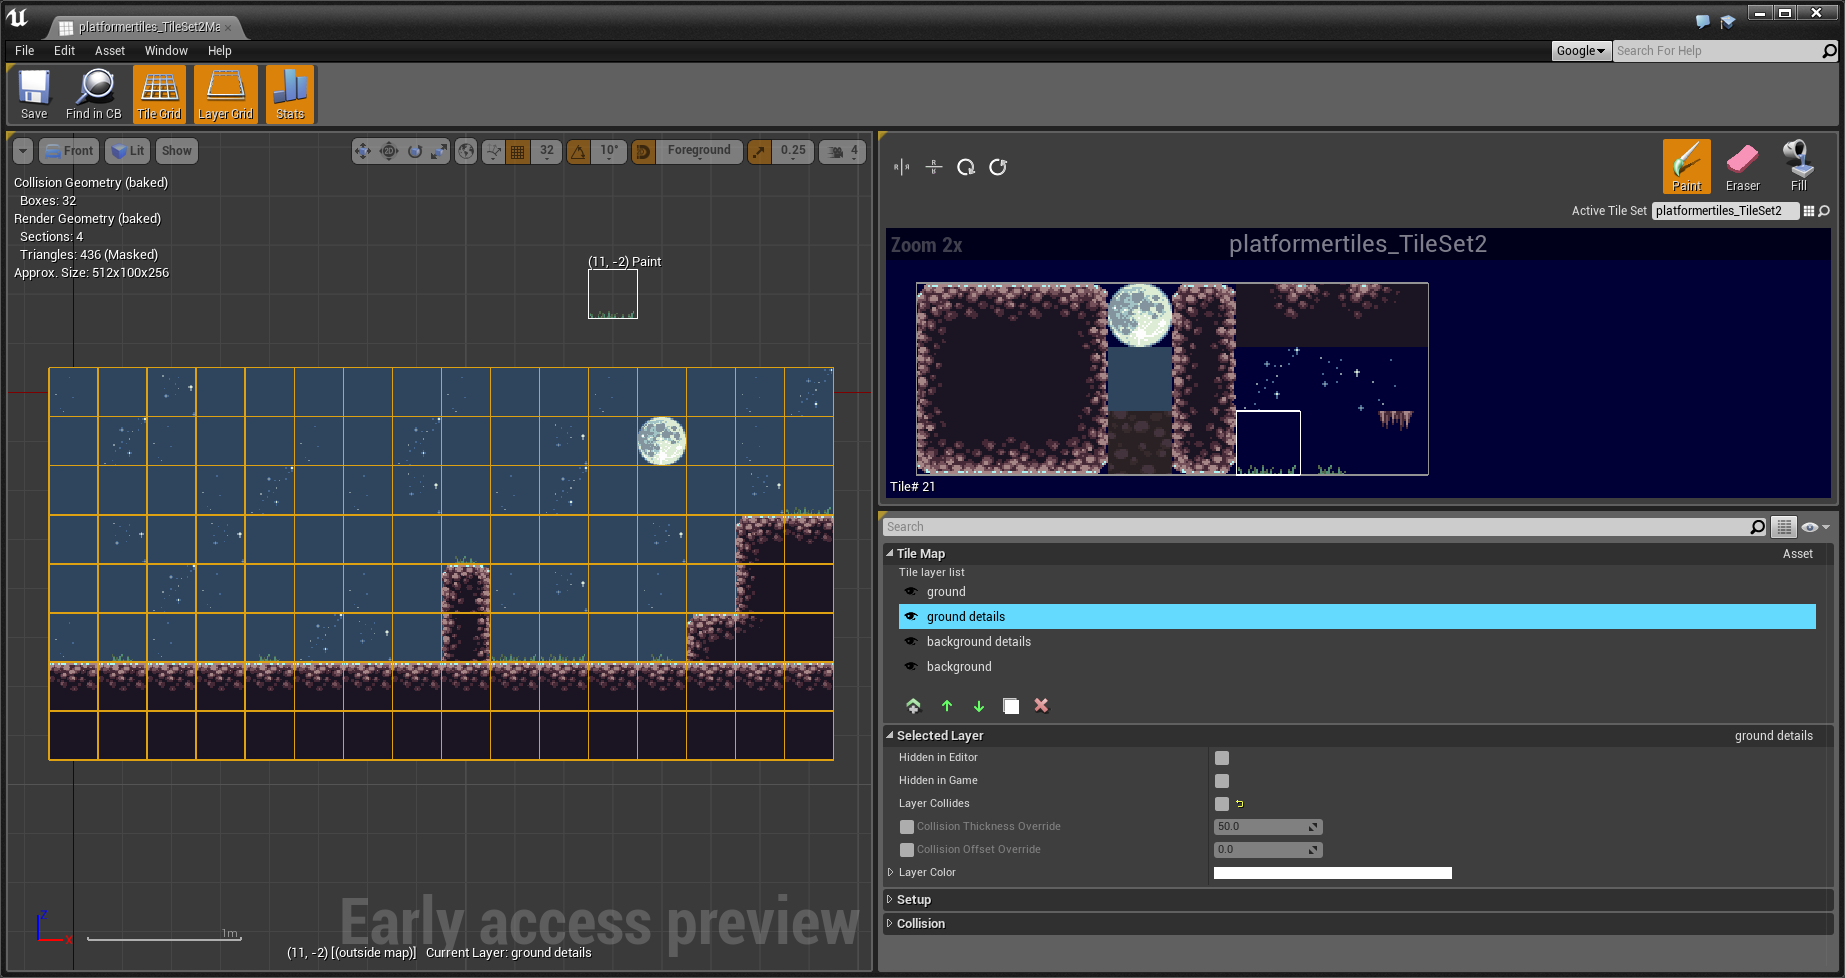
Ground Details layer that’s behind the Ground layer (underneath the ground layer in the tile layer list). Why I made the Ground layer first is mostly because I needed to see where the ground went first.
Technically speaking I could add another Grounds Details layer that display in front of the player (above the ‘ground’ layer in the tile layer list). Example: The player’s feet would be displayed behind some grass tiles.
But I think my next layer would solve any of that anyway.
NOTE: “Layer Collides” is set to false
Foreground layer
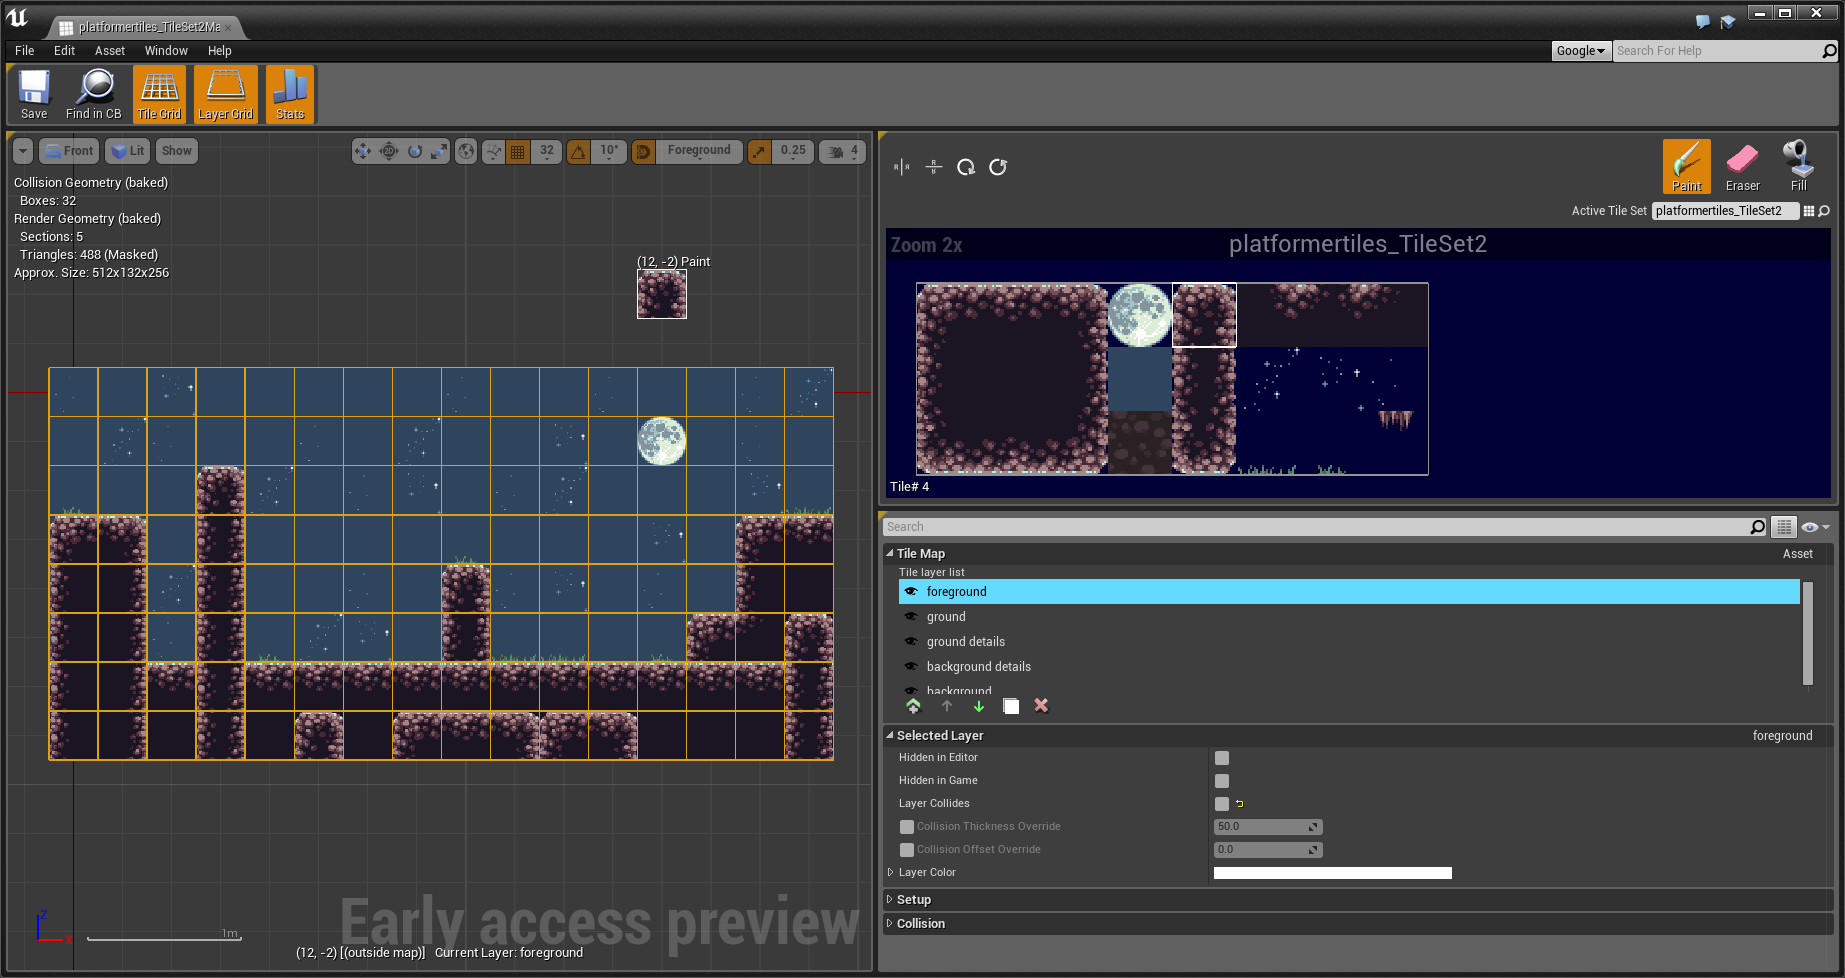
A layer that would be display in front of the player (nearest the camera).
NOTE: “Layer Collides” is set to false
TileMap overview

Here’s what it looks without the tile grid help!
Adding the TileMap to your level
Adding the TileMap to the level is just like any actor you have in your content browser, drag and drop!
NOTE: I set the TileMap at 0 units on the Y axis.
Here’s what it looks like in 2D:
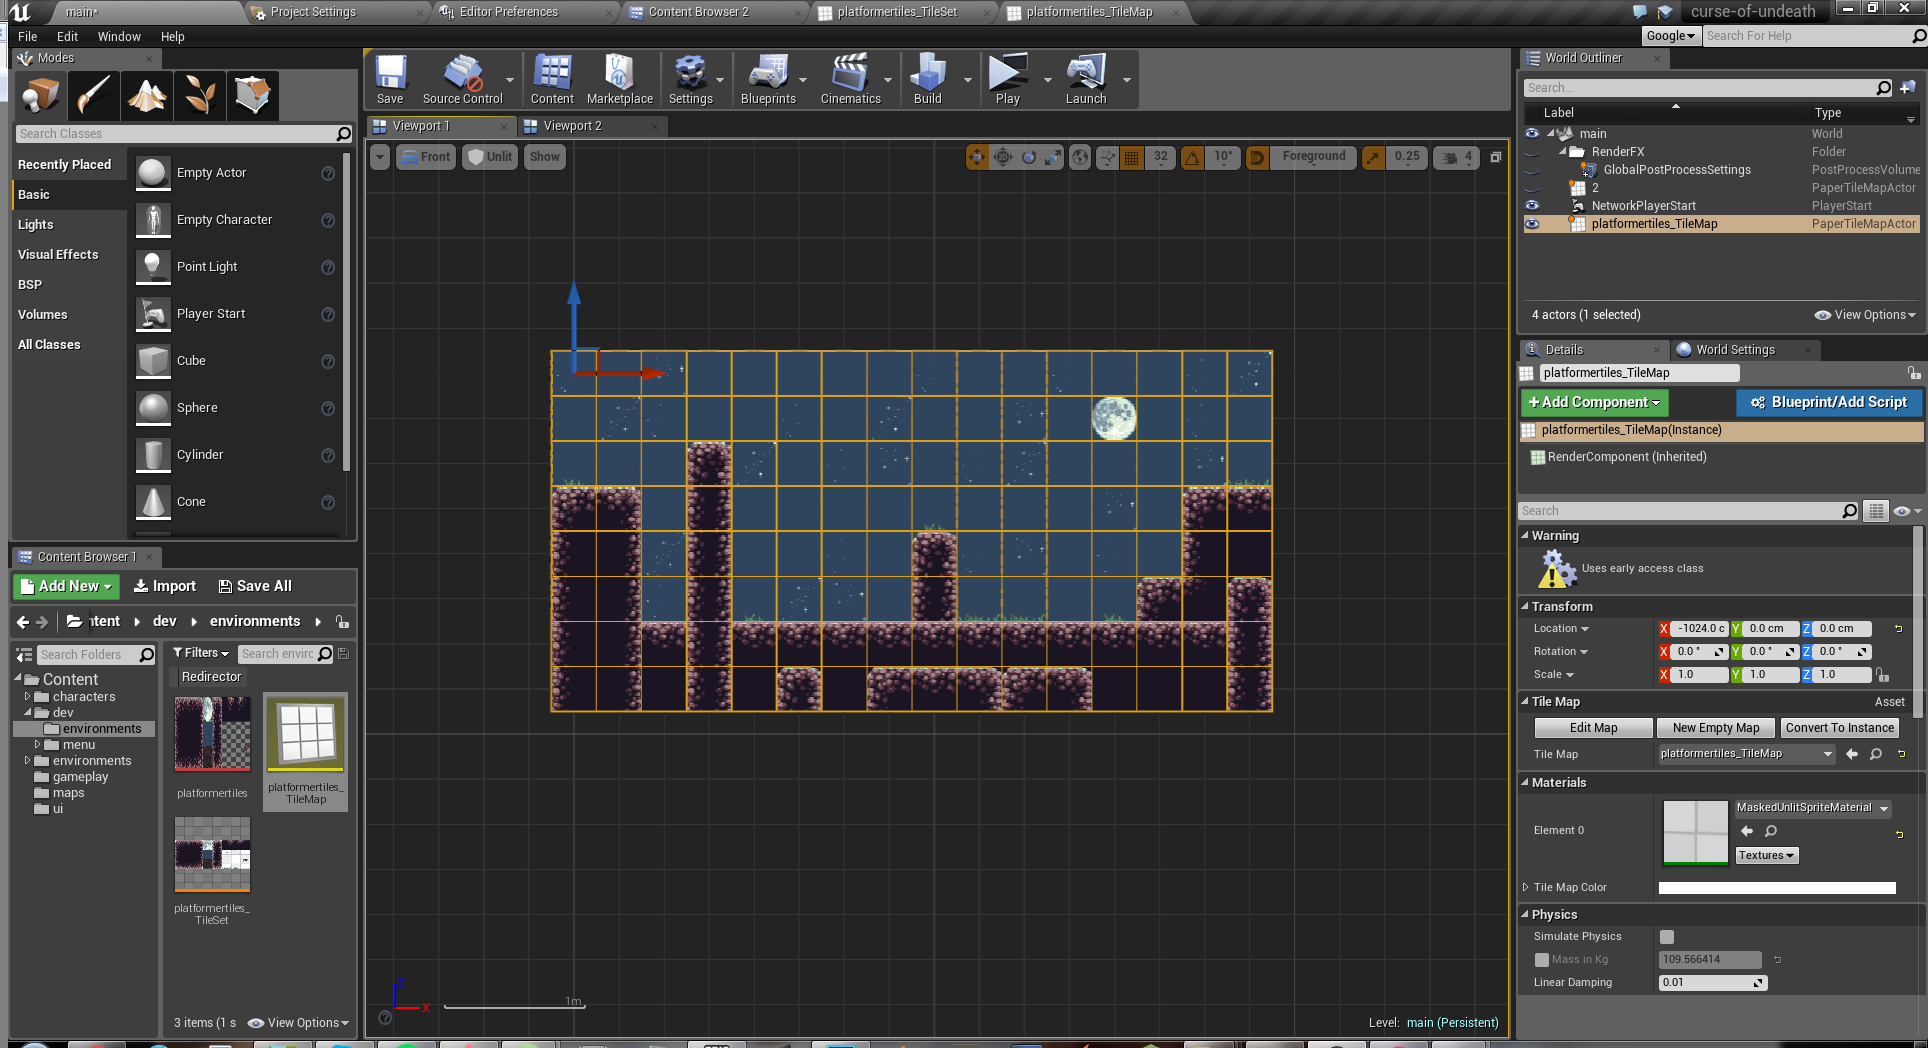
And in 3D:
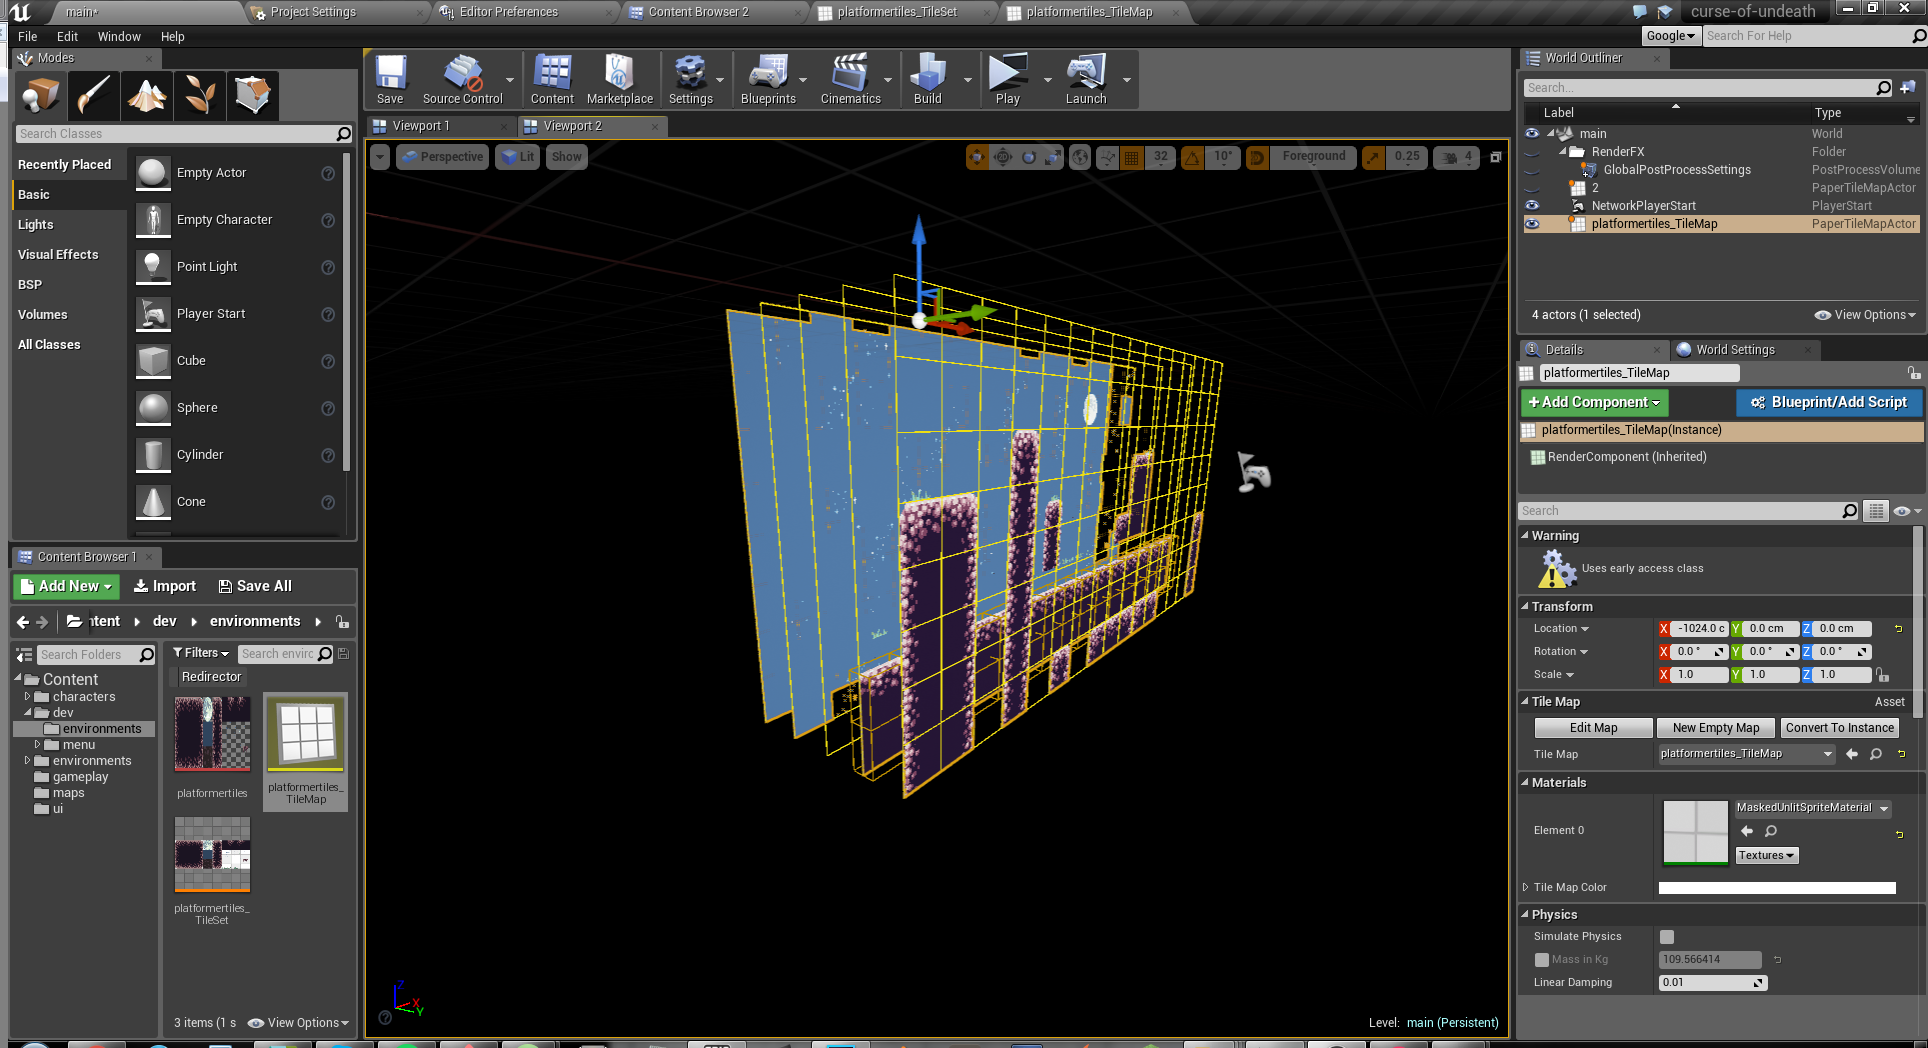
Here you can see which layer has collision and which that does not.
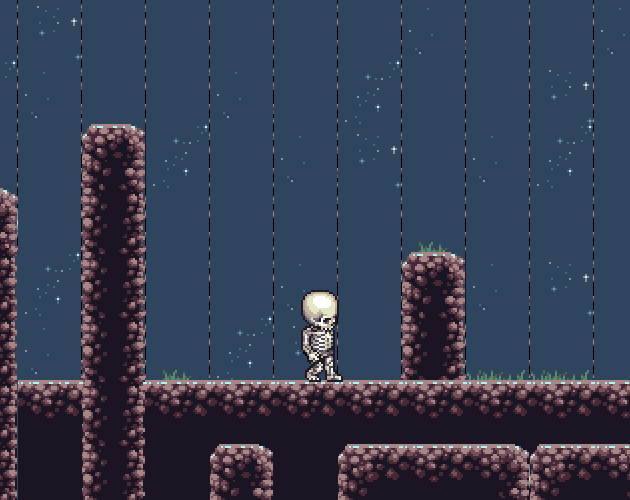
Playing & testing the TileMap!
Let’s start testing it out. First we need to add/move our player spawn to where the TileMap is.
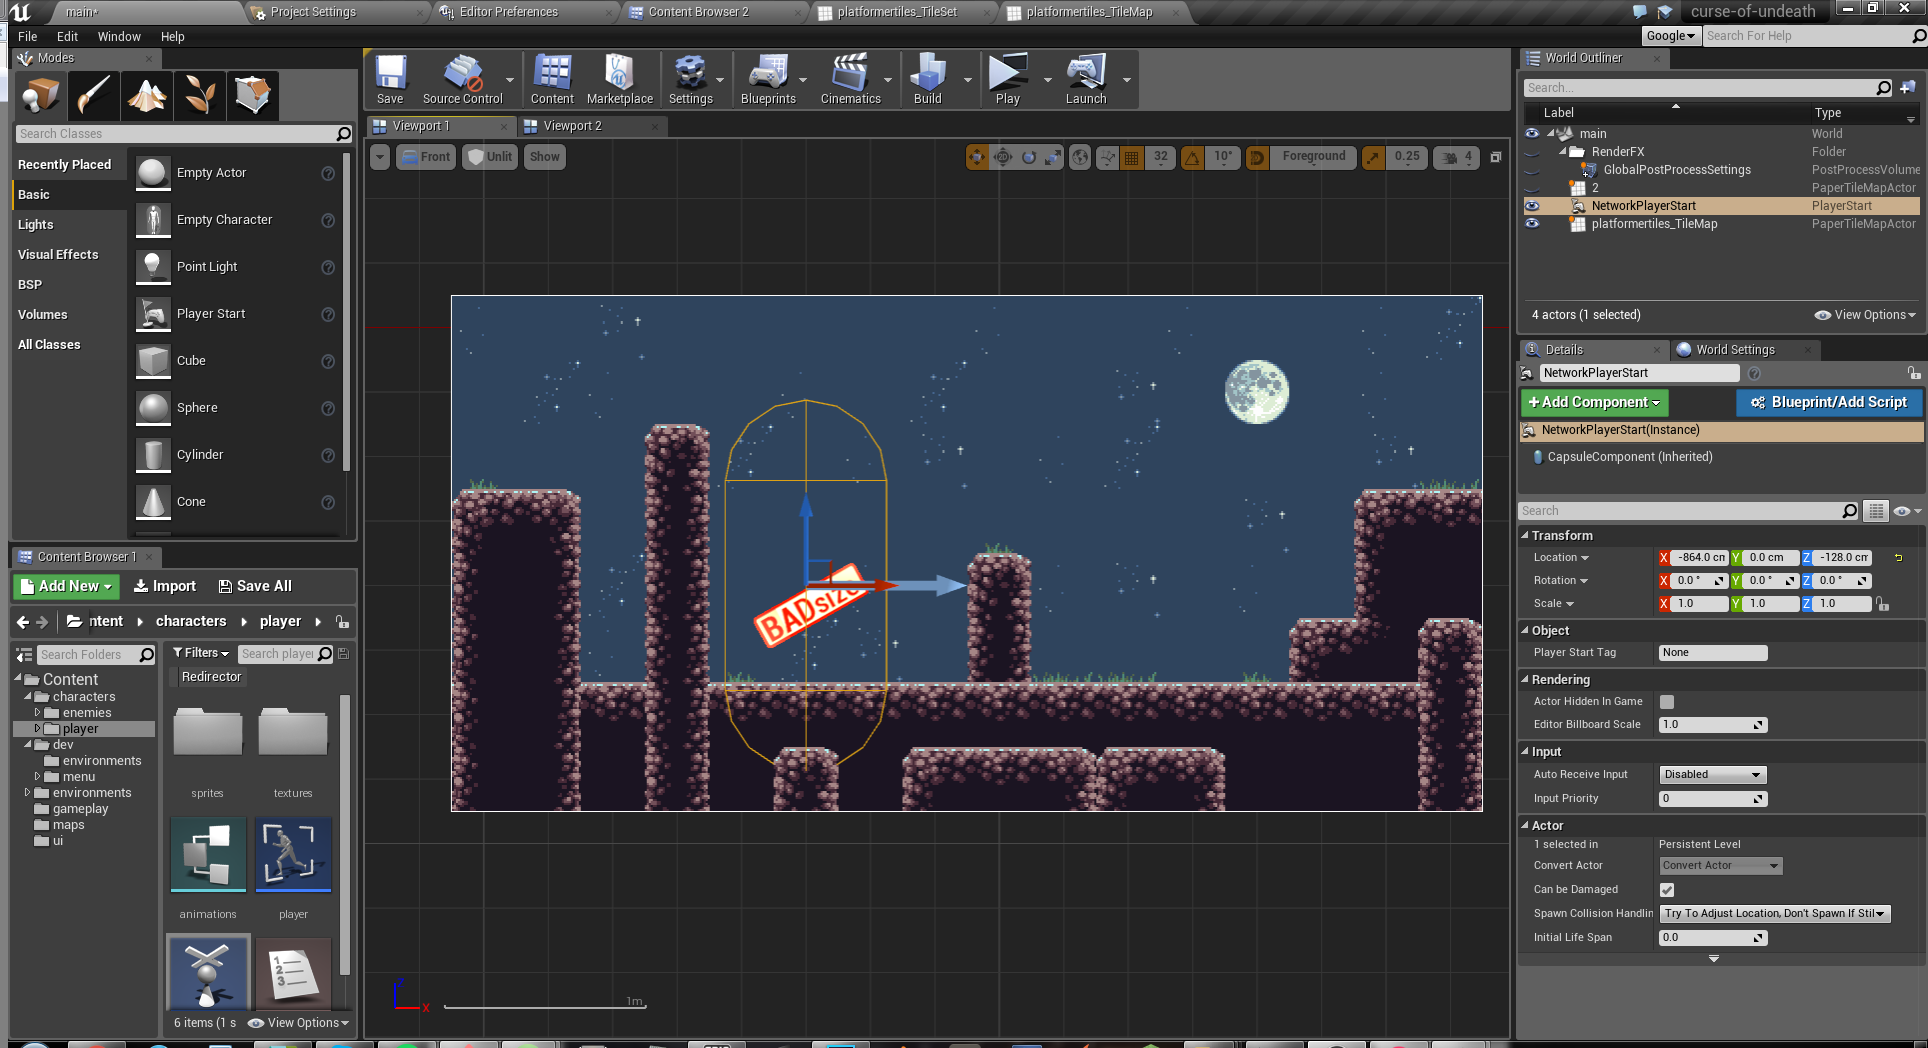
Don’t mind the “BAD size” error on the player spawn, it doesn’t play nice with TileMaps.
NOTE: I set the player spawn at 0 units on the Y axis.
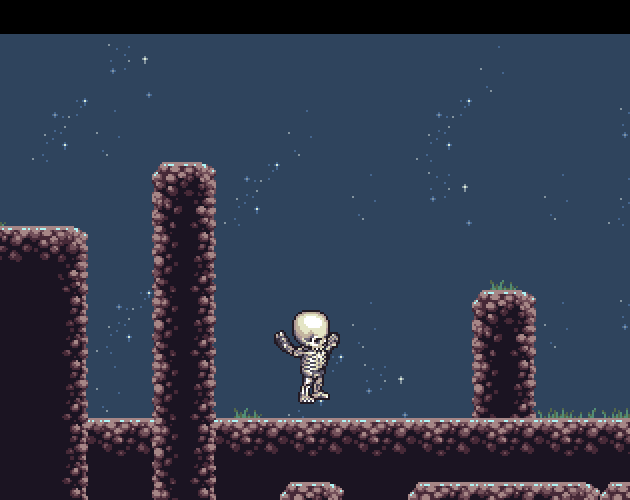
…Ooops! Why are we falling through space & time? Simple: the player is currently on the “foreground” layer, which has no collision.
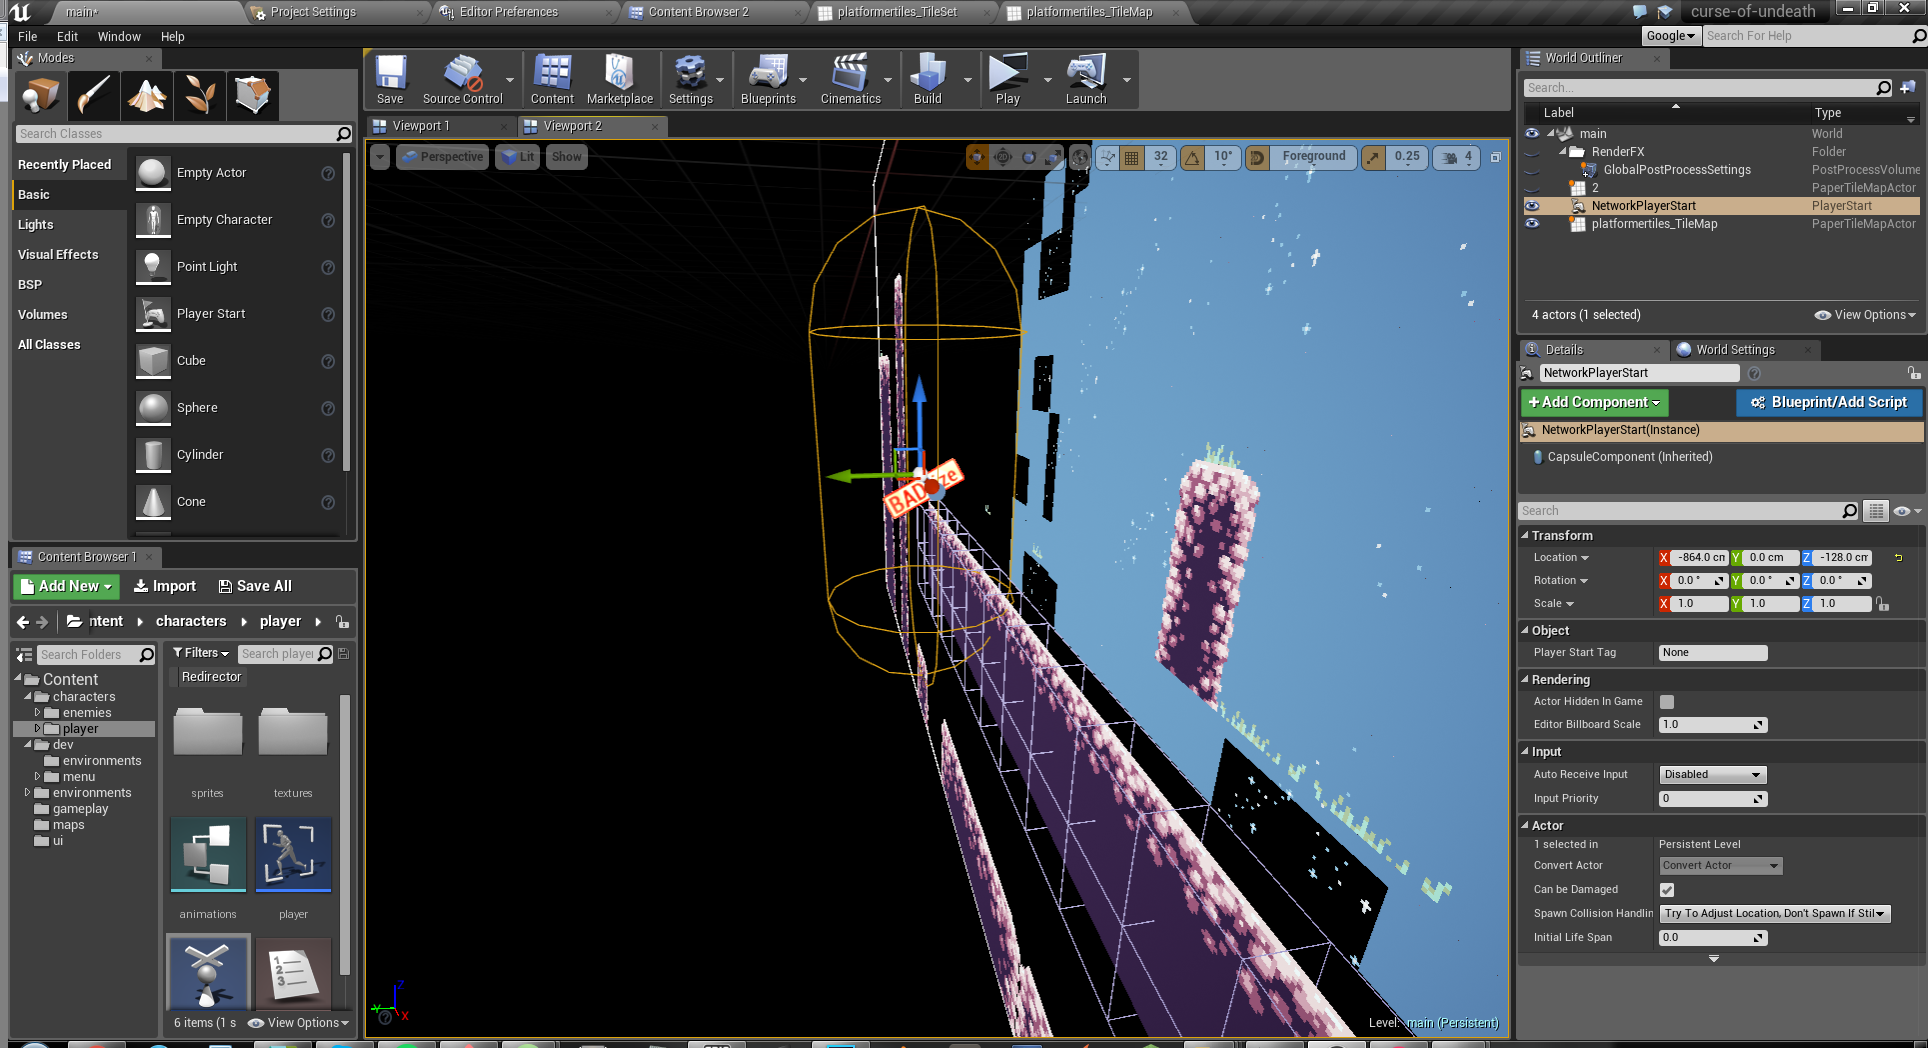
It’s kinda hard to see, but here’s the problem: Because of the way the TileMaps work and where they have their point-of-origin in the level, the top layer is the point-of-origin.
Because our ‘foreground’ layer doesn’t have any collision the player falls through.
Not much we can do to the TileMap itself (other than removing the ‘foreground’ layer), so instead we move the TileMap 32 units on the Y axis.
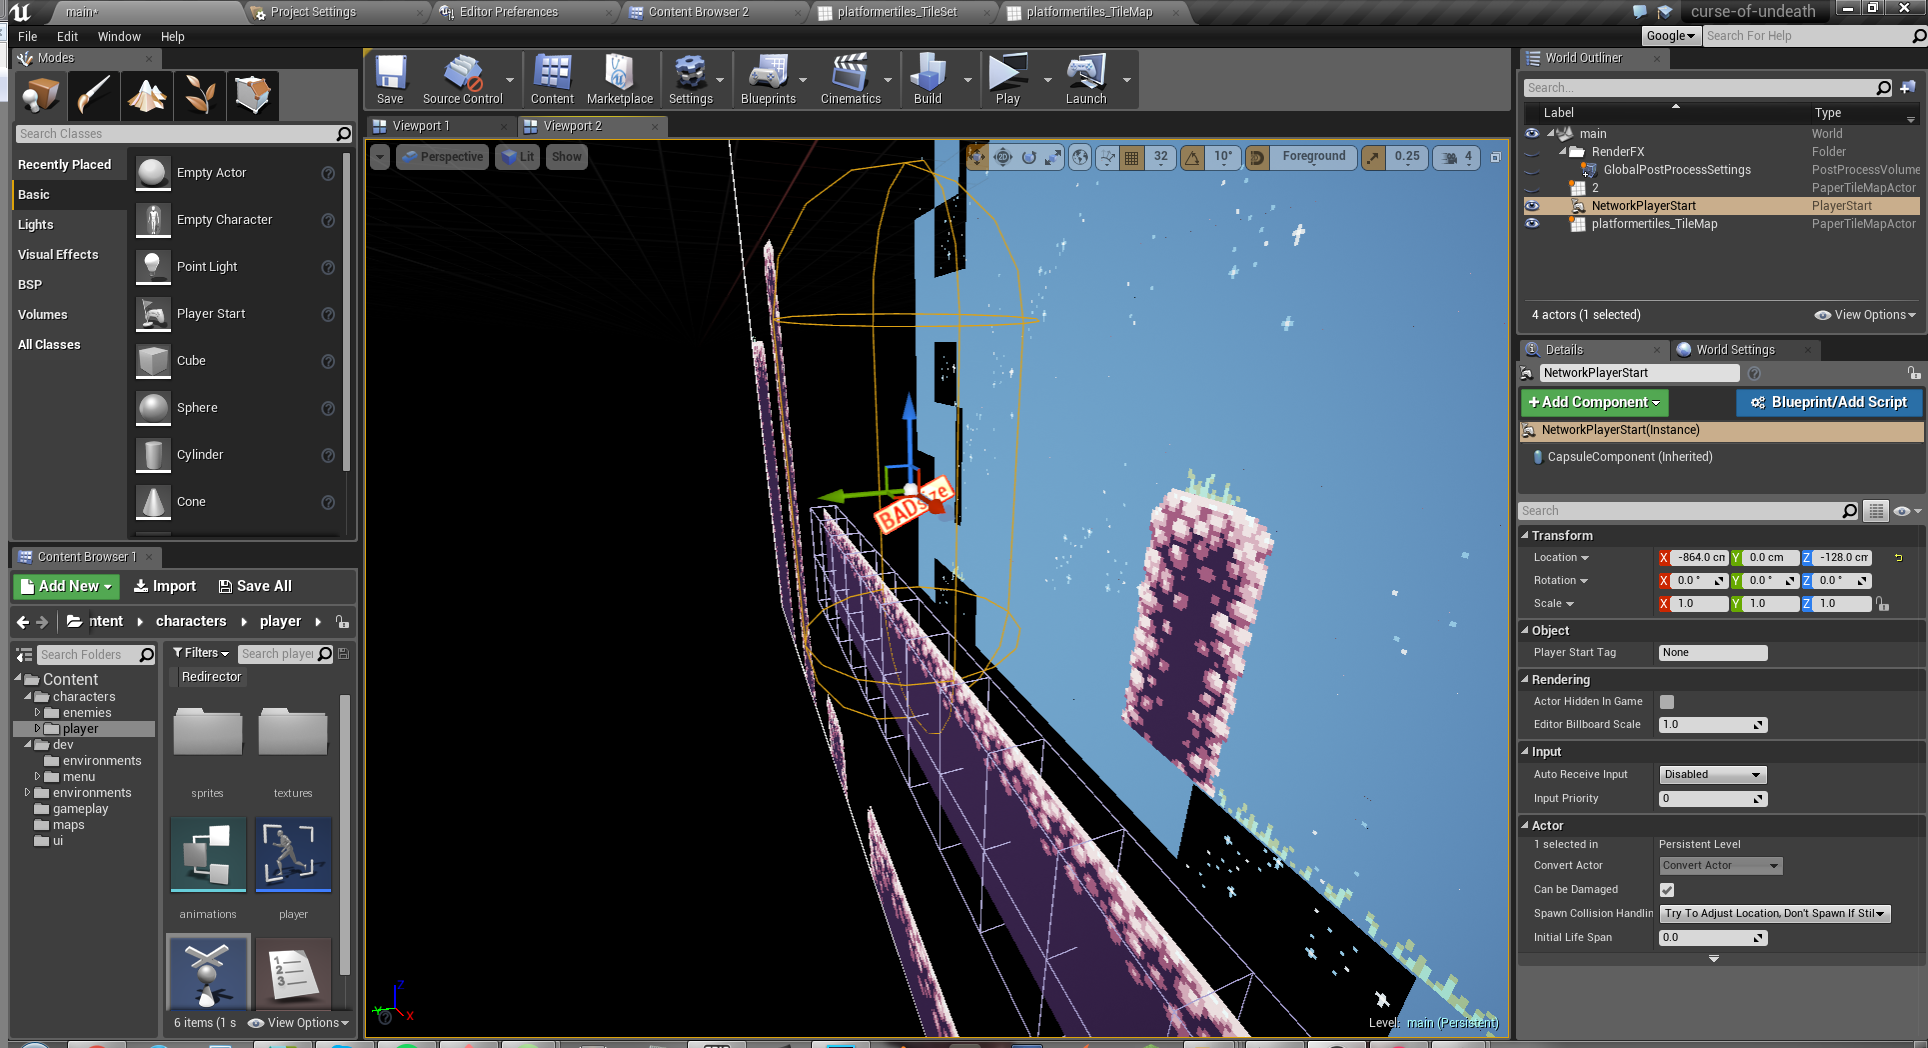
After we moved the TileMap 32 units on the Y axis, we can see the player and the ground layer matches their Y axis.
TileMap tearing

Alright, after fixing the falling through space & time part, we play again to check if it’s working. It is! But hold on, do you see the tearing in this gif?
Here’s a close up image on the tearing. It’s pretty nasty. If you’re like me, you don’t want that in your game.
So how do we fix it? Easy.
We simply go back to our TileSet, right-click on it and choose ‘Condition Tile Sheet Texture’.
What it does is it adds padding the each tile so tearing like we previously saw won’t happen! (isn’t UE4 awesome?!)
Here’s what the padded texture looks like (compare this to the TileSet without padding):

NOTE: I believe you can remove the original texture after making a padded one, I like to keep it if I ever need it again for reference or something.
The finished example!
This is the first tutorial I’ve made, so any feedback is more than welcome! I hope I’ve made myself clear, and the instructions were easy to follow.
This wouldn’t be possible without:
- Epic for Unreal Engine 4
- Calaelen for his blog posts on UE4 platformer
- Lanea Zimmerman for the Dirt Platformer Tiles
- Universal LPC Sprite Sheet for the character and it’s animations
Thanks!